Welcome to CreateYourWebsite.co.za – How to make a WordPress website step by step
This is a step by step guide on how you can easily create your own WordPress website.
Firstly, let’s answer a few questions that you might have:
Q: Why use WordPress?
![]()
In order to create your website you will need to use a content management system, which is basically a user friendly platform for building websites and managing your posts, pages and content.
WordPress is the most popular content management system used online today. Of all the content management systems, WordPress holds 60.2% market share.
WordPress is used by over 75 million websites globally and this is growing daily.
A few other advantages to using WordPress:
- WordPress is a based on a What You See Is What You Get (WYSIWYG) platform, making it easy to use and operate for beginners through to website designers, as there isn’t a need for technical coding knowledge
- There is a wide range of free & premium WordPress Themes and Plugins, for many different items, from online shopping websites to classified sites.
Step 1: Sign up for website hosting and register a domain name
In order to create your website you will need:
- Website hosting (a service that connects your website to the internet) and
- A domain name (which is your website address on the internet eg: createyourwebsite.co.za)
What is website hosting?
Website hosting is a service that connects your website to the internet by providing disk space and access to software on a server where your website will be stored and accessed via the internet. You will also be able to create email addresses and view your websites statistics from the website hosting control panel.
What is a domain name?
A domain name is your website address on the internet, for example our domain name for this website is createyourwebsite.co.za
There are many different domain name extensions available, most popular domains are .com and .co.za
Owning your own domain name looks far more professional rather than using someone else’s domain or a subdomain (for example mywebsite.freewebsite.co.za) and with domain names being very affordable it’s an easy decision to make.
Where can I get a FREE domain name and hosting?
We recommend StallionHosting.com as a web hosting and domain name register.
Stallion Hosting is an officially accredited .co.za domain register offering great customer service and very affordable web hosting packages.
When you register a domain name and sign up for hosting, you will be able to create personal email accounts such as you@yourwebsite.co.za – which is much more professional than using a generic Gmail.com or Yahoo.com email address. Using a personalised email address will also indirectly advertise your website when ever someone is given your email address.
1: Go to StallionHosting.com – www.StallionHosting.com

Discount Coupon: Use the promotional code CREATEYOURWEBSITE during checkout and you will instantly receive 10% off your order.
2: Choose a Web Hosting Plan
Stallion Hosting offers three hosting plans, with their most popular plan being the Mare hosting package as it offers great account features at a very affordable price.
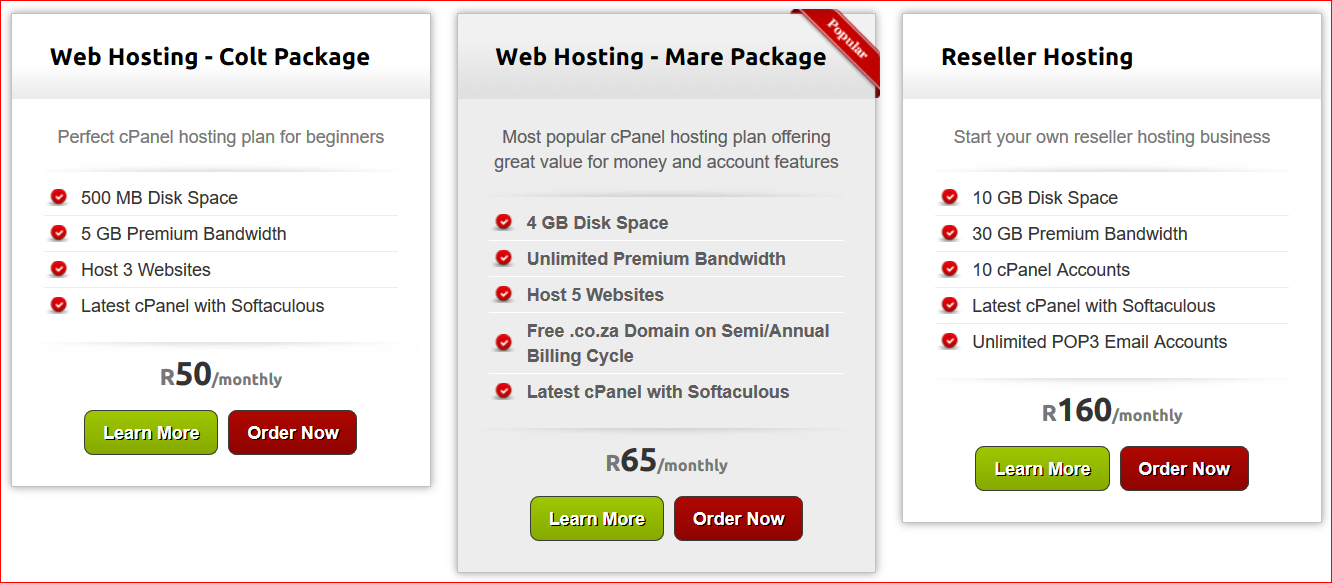
The Mare hosting package features include:
- 4 GB Disk Space
- Unlimited Premium Bandwidth
- Unlimited email addresses
- Latest cPanel with Softaculous (used to install WordPress)
To order the Mare Package click Order Now or for more information and to compare the packages, click on the Learn More button.
3: Register a Domain Name
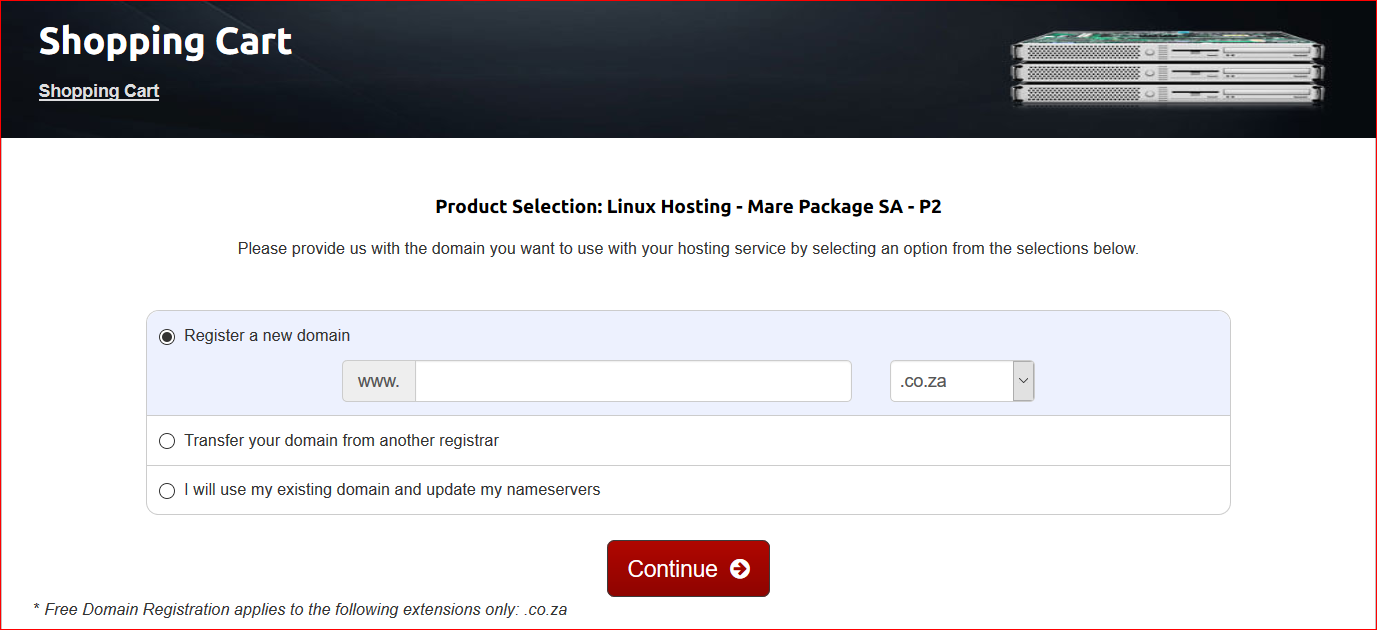
This is where you will choose the domain name (internet address) for your website.
- If you are creating a website for your business, then your domain name should match your company name if possible.
- If you are planning to create a personal website, personal blog etc – go ahead and see if your ideal domain is available.
For this website, we chose CreateYourWebsite.co.za as the domain name.
If your first choice of domain name is taken then you will need to be slightly creative, such as adding SA to the name or changing the arrangement of letters etc. Simply click Try another domain to search for a new domain idea.

If you already have a domain name then you also have the option to transfer your domain to Stallion Hosting.
Need help? If you need advice/help with choosing a domain name or would like some assistance in finding domain names that are available, you are welcome to Contact Us and we will gladly assist.
4: Checkout & Payment
Next you will be presented with your shopping cart.
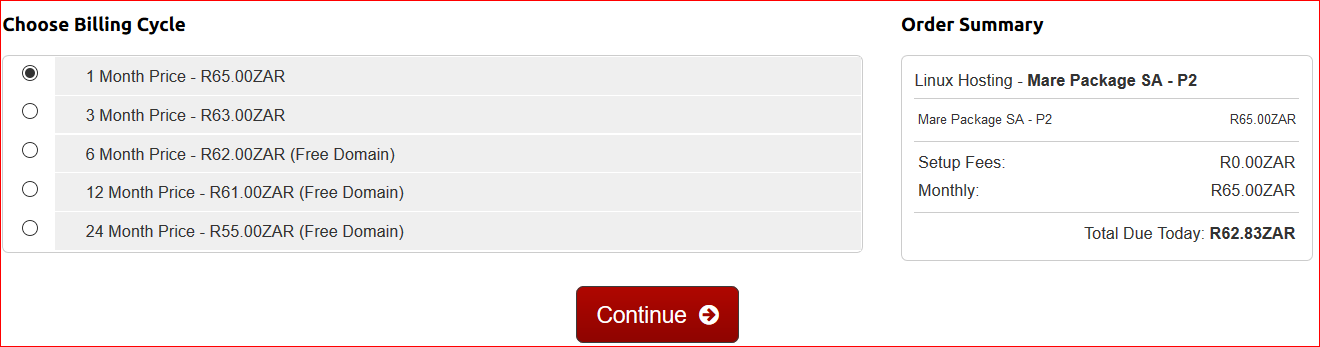
Stallion Hosting offers discounts on advanced payment options (quarterly, semi-annual or annually) as well as a free .co.za domain name if you select to pay for your hosting on a 6, 12 or 24 month cycle.
Choose your Billing Cycle and click Continue
Review & Checkout:
Review your order and then scroll down to create your account – simply fill in your details and create an account password.
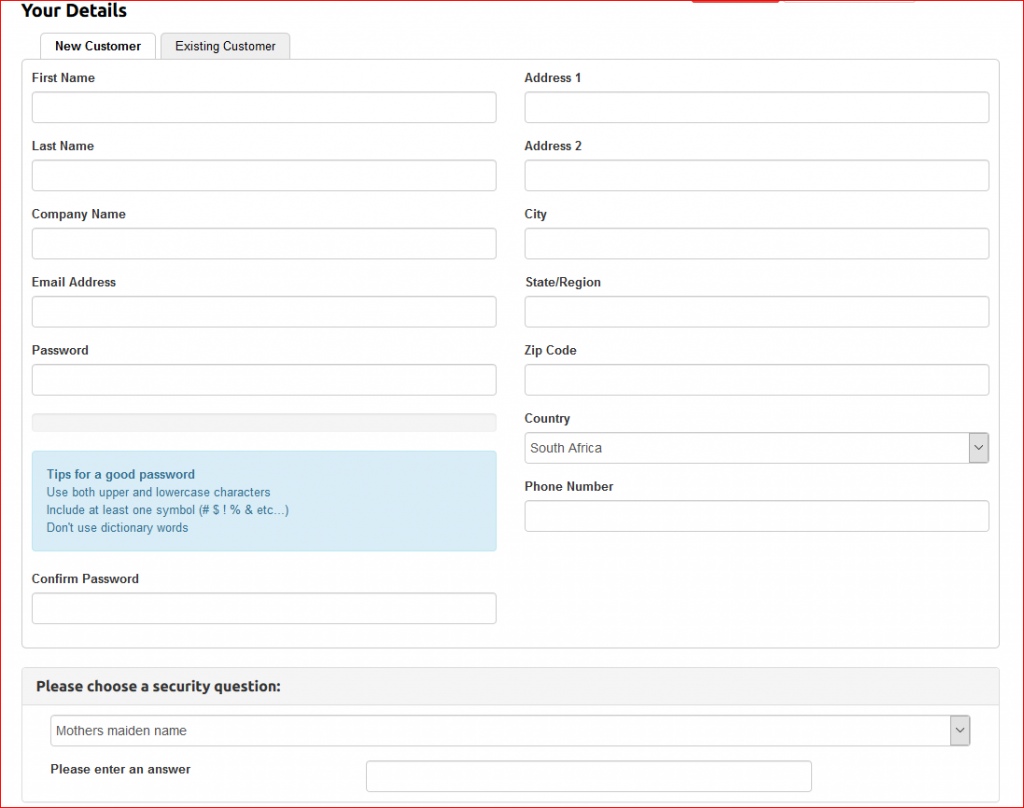
NB: Remember to use the Promotional Code CREATEYOURWEBSITE and click Validate Code to instantly receive 10% off your order.

Once completed, select your payment method:
Bank Transfer: EFT/FNB ATM payment option
PayFast: Credit & Cheque Card Payments as well as Instant EFT Payments (ABSA, FNB, Nedbank, Standard Bank)
PayPal: PayPal account payments
Agree to the terms of service and click Checkout to complete your order and make payment.
Step 2: Login to your cPanel and install WordPress
Now that you have registered your domain name and purchased your hosting package, you will now need to install WordPress onto your domain.
All of Stallion Hosting’s cPanel hosting packages include Softaculous, which is the leading auto installer and makes installing WordPress and hundreds of other scripts very easily.
- Log into your cPanel
The first step to installing WordPress is to login to your cPanel. You will find your cPanel login details in an email from Stallion Hosting called “New Account Information”. Open the email and you find your cPanel login details.
Then simply follow these steps:
- Login to your cPanel: yourwebsite.co.za/cpanel (remember to replace yourwebsite.co.za with your actual domain name)

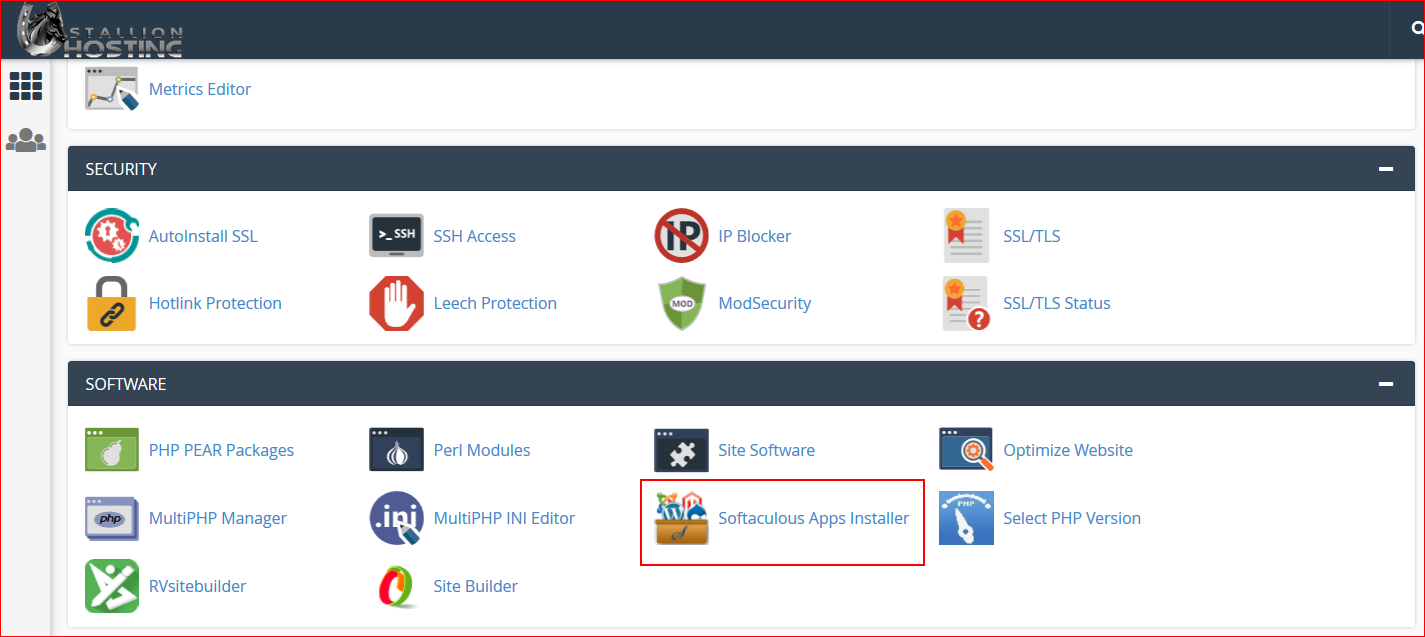
- Scroll down to the Software section of your cPanel and click on Softaculous Apps Installer
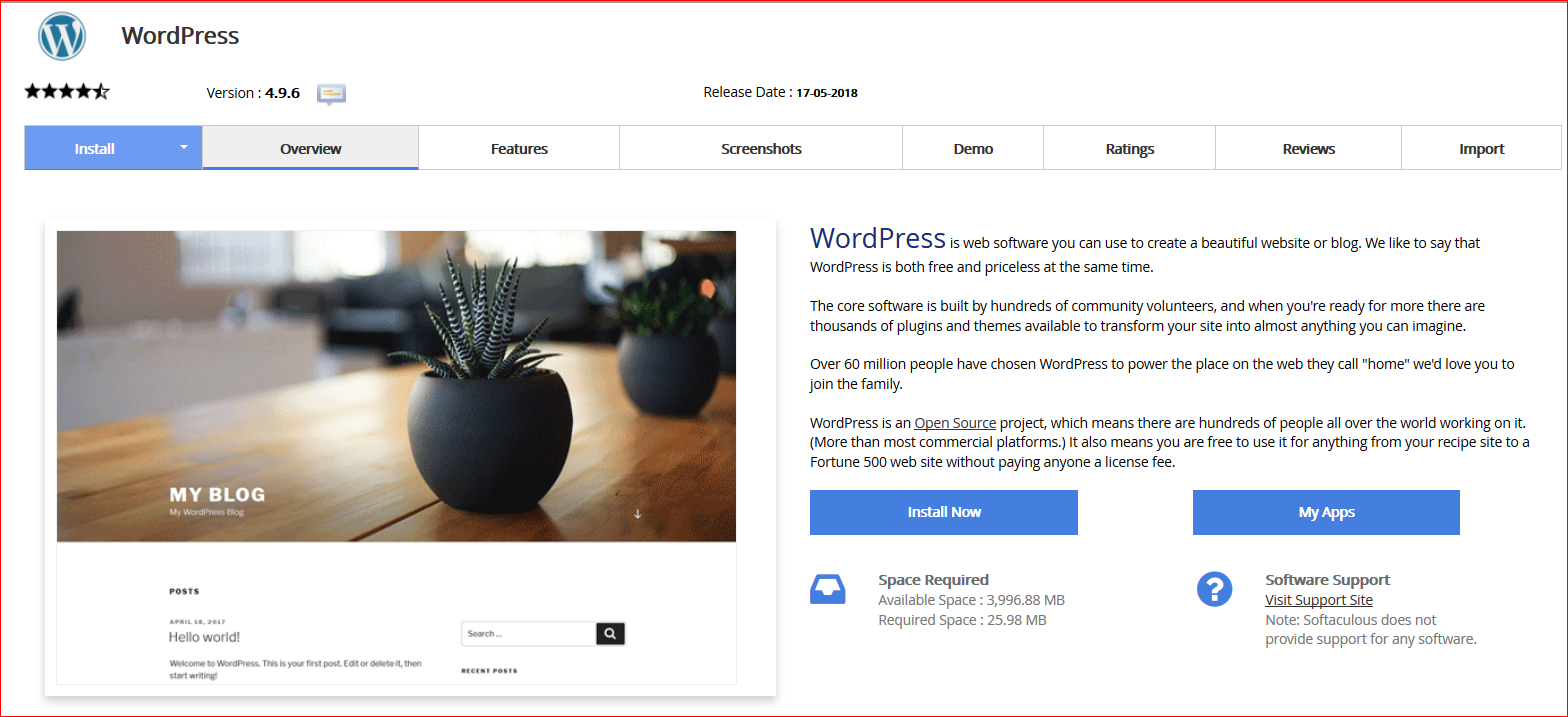
- Click on WordPress and Install Now
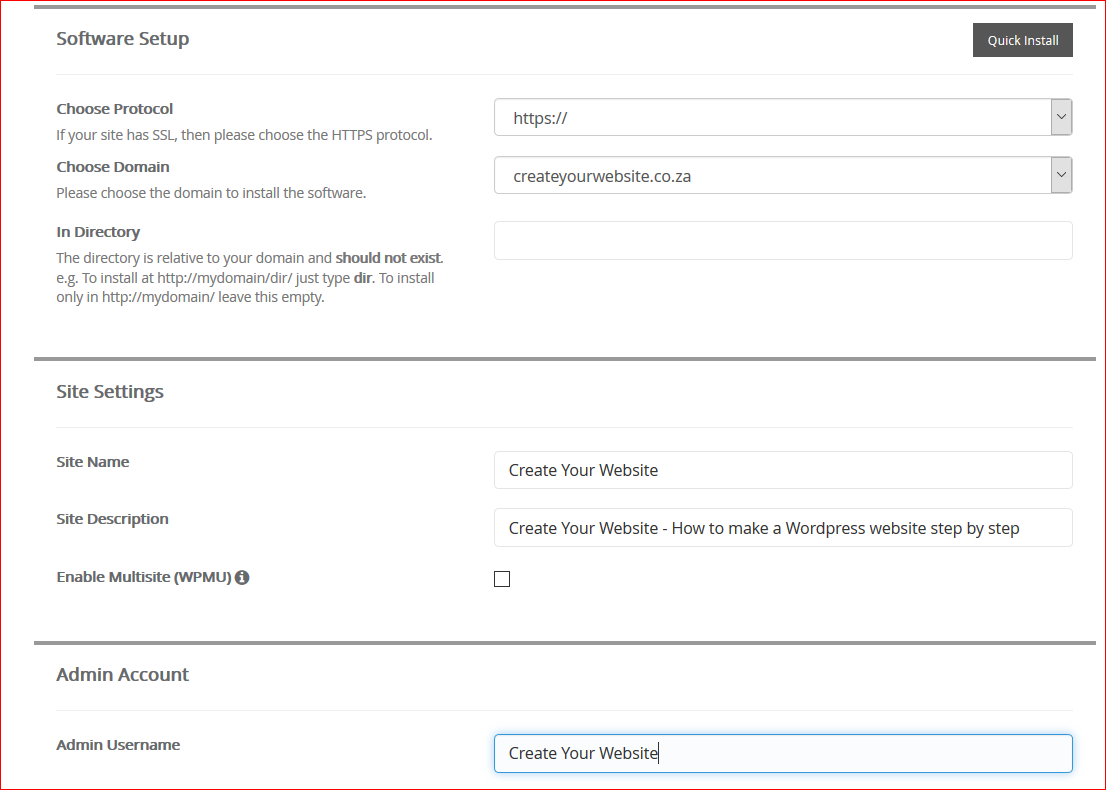
- Now you will fill in the details of your new WordPress site:
- Change the Protocol using the drop down menu to https://www.
- Important: For the In Directory field, remove the wp – this will ensure WordPress is set up correctly
- Add your Site Name and Site Description
- Admin username – change from admin to a stronger username, eg: YourCompany and click on the key icon to use the Password generator in order to create a strong password for increased security
- Add your email address
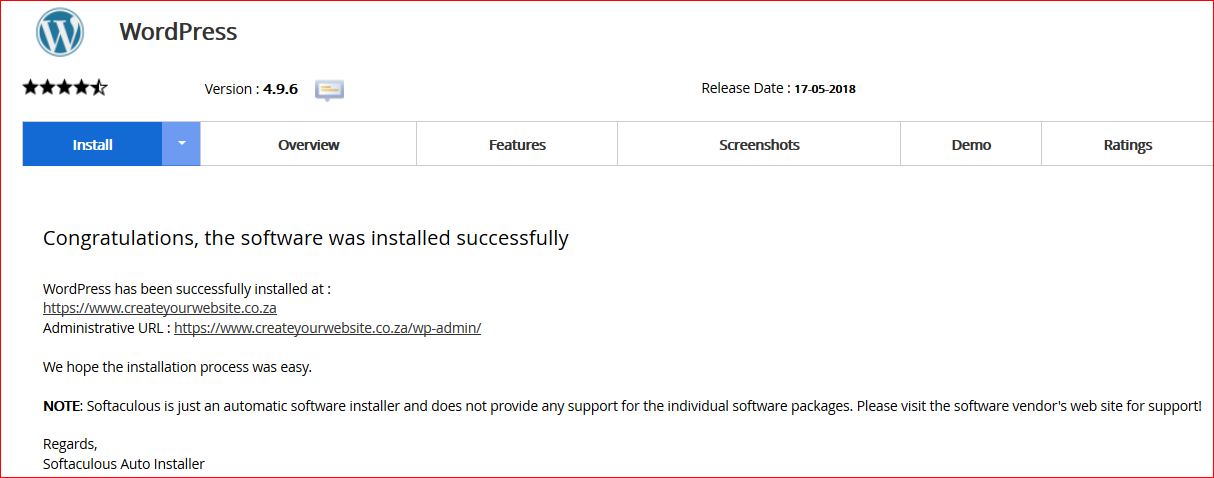
- Scroll down and click Install
Congratulations, you have successfully installed WordPress onto your new domain
Next step we will login to your WordPress Dashboard and begin exploring WordPress
Step 3: Overview of WordPress Dashboard – Including Themes, Posts and Pages
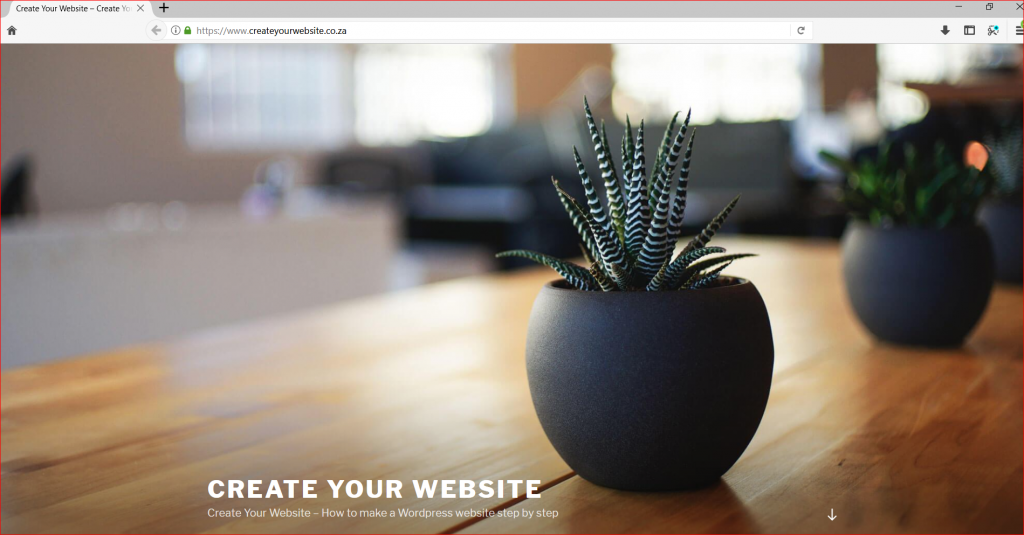
Once you have successfully installed WordPress onto your domain, you will see the default WordPress site, like the screenshot below:
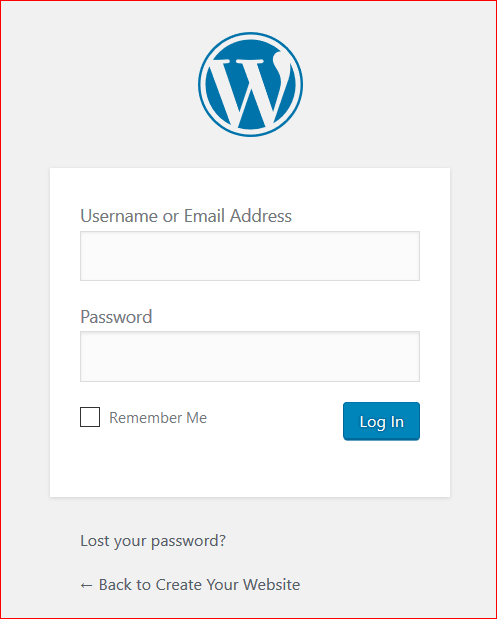
This is where the fun begins, login to your WordPress Dashboard at yourwebsite.co.za/wp-admin (remember to replace yourwebsite.co.za with your actual domain name) – using the Admin Username and Password created during Step 2.
Once logged in, you will be presented with the WordPress Dashboard which is where you will be able to customise your WordPress site, change the theme/template, install plugins etc. The WordPress Dashboard is easy to use, with all section clearly labelled and
WordPress Dashboard:

The next step would be to find a WordPress theme that suits your style:
How to find a WordPress theme you like:
Click on Appearance, Themes and click Add New – you will then be presented with this:
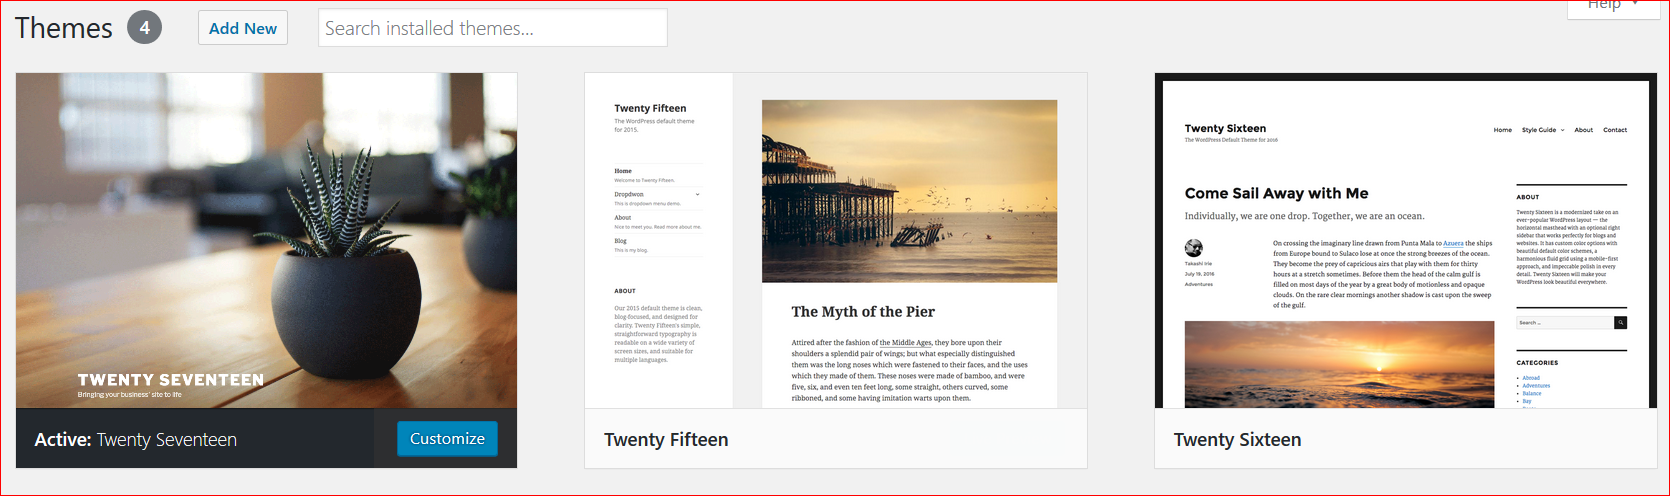
Access FREE themes: From here you will be presented with 1500+ free theme options, labelled Featured, Popular, Latest etc and have the option to search for other options using specific keywords. The theme we are using us WEN Corporate theme.
Tip: When deciding on a WordPress theme, try to look for themes that are “responsive” meaning that your website will display correctly on mobile devices (cellphones, tablets etc).
If you are looking for something more specific or advanced then you can consider premium WordPress theme options available online.
Install your new theme: Once you have found a them you like, simply click Install and once installed click Activate to enable the theme on your website.
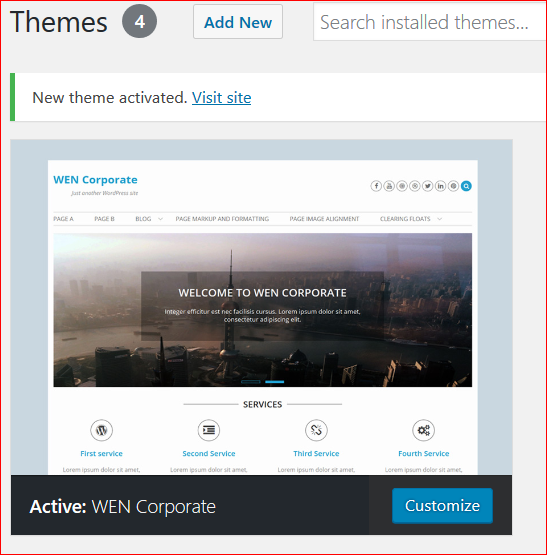
Tip: Changing WordPress themes won’t delete your previous posts, pages and content. You can Install and Activate different themes as often as you want without having to worry about losing the content you have already created.
How to add content and create new pages:
Now that your theme is installed, you are ready to begin adding content to your website.
Adding and Editing Pages:
To add a new page simply use the menu bar on the left, click on Pages, Add New
Once you have clicked, you will be presented with a blank page. Go ahead and add a Page Name, and then you will have a blank area similar to Microsoft Word – this is where you will be able to add the main content of your page.
A common business website will have the following pages:
Home Page
Services/Products
Gallery
About Us
Contact Us
Widgets – Editing Sidebars
Under Appearance, Widgets you will find a list of Available Widgets that you can drop and drag into the Widget/Sidebar areas of your theme.
Adding the Pages widget will display a list of your pages on your WordPress site. You can also go ahead and explore other Widget options for the available sidebar areas that your WordPress theme offers.
Adding and Editing Posts:
It you are planning to create blog posts, then you would use the “Posts” area in WordPress. Posts have the same set up as Pages, with a Title and editing area – except that with Posts you will be able to categorise Posts, for example: If you are planning to create a blog about Food, then you could create different post categories such as: Seafood, Vegetarian, Dessert etc.
In the Add New Post area you will be able to click + Add New Category to create new Categories for your blog posts.
Disabling Comments:
By default, WordPress has the option of allowing people to post comments on Posts/Pages. Depending on your type of website (business site/blog) you might not want visitors to be able to comment on your posts.
To disable comments, simply go to Settings -> Discussion and untick the third option: “Allow people to post comments on new articles”.
Setting a Static Front Page
Depending on the type of WordPress theme you are using, some themes might only show blog posts on the front page. In that case you can easily change your front page to a static home page that you have previously set up.
To set up a static front page:
- Go to “Settings -> Reading”
- Click the second button and choose a static page from a page that you have previously created (using the drop down menu).
Step 4: WordPress Plugins
What are WordPress Plugins?
“Plugins” are WordPress extensions that are available to expand and add additional capabilities to your WordPress site.
There are thousands of Plugins available, both free and premium for everything from creating a Contact Us form to adding photo galleries and creating an online store with a shopping cart, selling products etc.
How to install a new WordPress Plugin:
To install a new Plugin, simply go to Plugins -> Add New on the WordPress Dashboard.
From there you will be presented with this page:
Installation is easy – simply search for the plugin you’re looking for and click “Install Now”, you will see the button change to Blue once installed and then simply click “Activate”.
Below are two recommended WordPress Plugins:
- Contact Form 7: A great plugin to create a contact form for your Contact Us page, which is useful for website visitors to be able to send you an email. We have Contact Form 7 installed on this website on our Contact Us page.
- All in One SEO Pack: With this plugin you will be able to make edit your title tags, meta descriptions, keywords etc for pages and posts – which all assist with SEO (search engine optimisation).
There are literally thousands of plugins available, depending on your needs – simply search Google or the official WordPress plugins page for more information.
Congratulations, you now have a fully set up WordPress website that you can edit, update and manage yourself!
Marketing Your New Website
Now that your site is live, go ahead and market your website to the world!
Here are a few marketing ideas:
- Start a Facebook Fan Page and make sure you link your website, this will give your Facebook Fans a way to connect to your website and to obtain more information on your services and contact you via your website
- Promote your website link on Twitter, Instagram etc – get the word out there
- Add your website address to your business cards, flyers, letter heads etc – having a website gives you a professional edge over your competition.
- We also recommend you create a personalised, branded email address to use for your business and to indirectly promote your website. With the Stallion Hosting packages you can create personalised email addresses, eg: sales@createyourwebsite.co.za (replacing createyourwebsite.co.za with your actual domain name). Click here to view our step by step guide on how to create an email address in your cPanel.